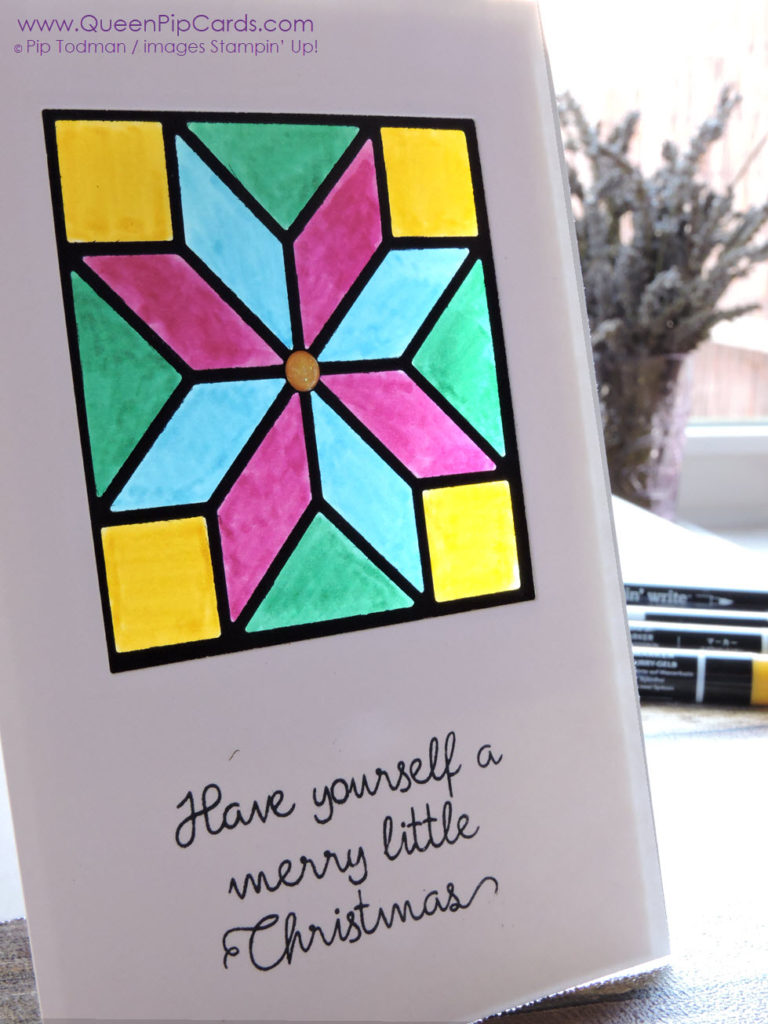
Today I’d like to share how to make a Stained Glass Window card using the Quilt Builder Dies from Stampin’ Up! These are new in the Autumn / Winter catalogue and are so much fun to play with! As soon as I saw this entire suite I thought of my friend Georgina who has taken up quilting in a BIG way. She’s created some amazing quilts. I am not that gifted, but I can make a card! I love this technique. It looks pretty normal until you get some light shining through it. Stand the card on your window sill or mantle piece and you’ll see what I mean.
 Make A Stained Glass Window Step by Step
- First cut a piece of Thick Whisper White card stock A4 size (with the short edge at the top of your trimmer) at 10.5 cm. Then score that with the long edge at the top at 14.9 cm.
- Next cut out your window using the plain square die in your Quilt Builder Framelit dies set in the front of your card base.
- Using our new Multipurpose Adhesive Sheets, cut out the leaded window design in Basic Black card stock. The new adhesive sheets make it a dream to cut out and glue down intricate designs cut with your dies.
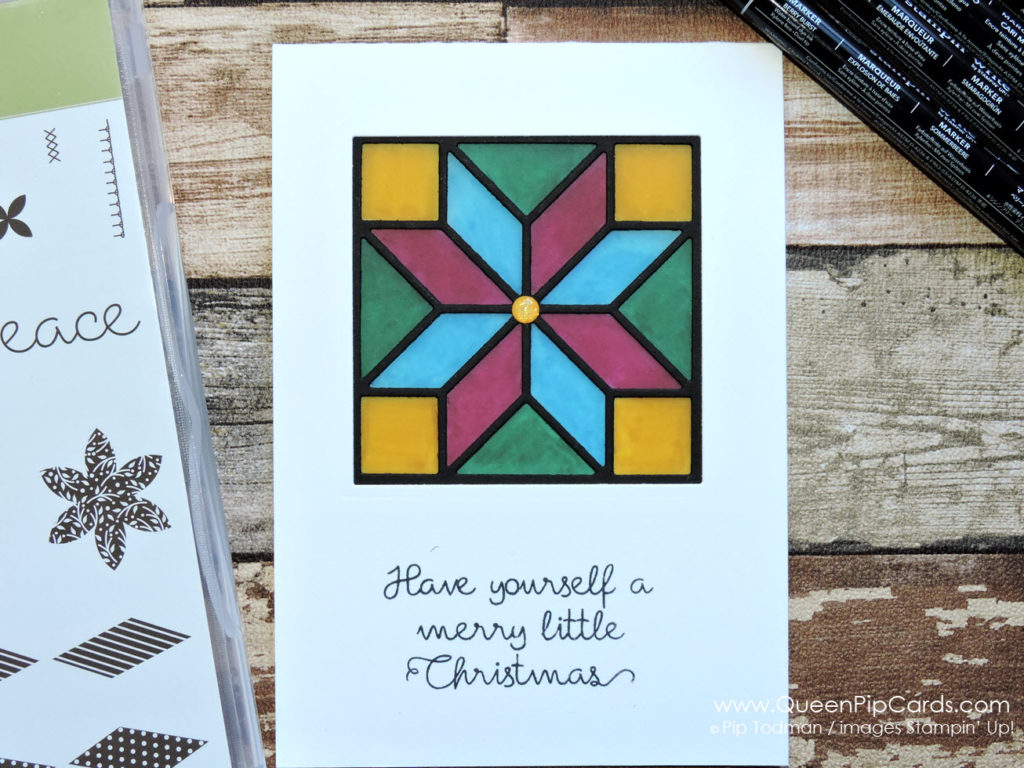
- Cut a piece of Vellum 9 x 9 cm and attach your window design to it in the middle. Flip it over & colour in each window pane in a different colour using Stampin’ Write Markers (I used Tempting Turquoise, Emerald Envy, Berry Burst and Crushed Curry).
- Next position the vellum on the inside of the front of your card so the window design shows through the hole. I used washi tape to hold it in place before adhering it with Fast Fuse or Tear & Tape.
- Cut another piece of Whisper White (standard) to 14.9 x 10 cm, cut out the square again (in the same position as on the front) and cover your vellum edges on the inside to neaten it up. This leaves just the “window” showing.
- To finish stamp your greeting on the bottom of your card front (I used Basic Black) and add a Glitter Enamel Dot in the centre of your window.
 Not so tricky after all eh? I hope you’ll give this technique a try at home and make a Stained Glass Window card of your own. Give them a wow when you send your Christmas cards this year! You can purchase the supplies I mentioned below – just click on an image.
Or click here to visit the entire store!
Crafty hugs, Pip x
#QueenPipCards #StampinUp #papercraft #InspiringYourCreativity
– Use my Monthly Giveaway Code for all orders under £150 in the Host Reward box on your Basket screen online. I will send you a special thank you from me and a share of the rewards next month. Ordering over £150? Keep the rewards for yourself! Click here to read more .


– Click HERE to Join my fabulous team the Royal Stampers today! Just £99 for £130 worth of products! Click here to Join now! or Click here to read about us!
– Click HERE to become a Crafty Corner Member on Facebook!
– Fill in the Subscribe form below to keep up to date with all the news and get exclusive projects from Queen Pip Cards
TRES BELLE AVEC CETTE TCHENIQUE
Thank you hun!